I guess I’ll repeat what some other people do, and put up blog entries about what they do with hardware…
Alix.1C
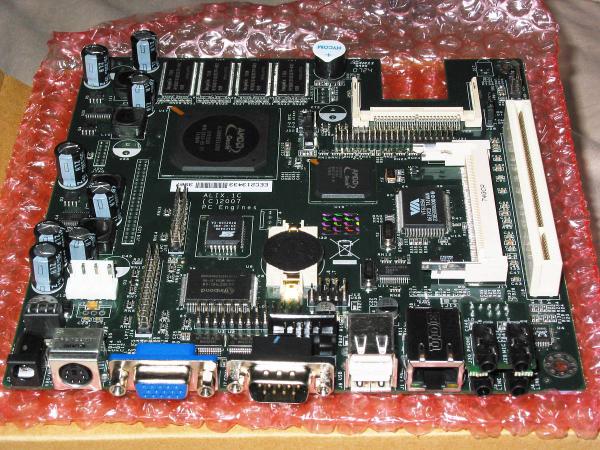
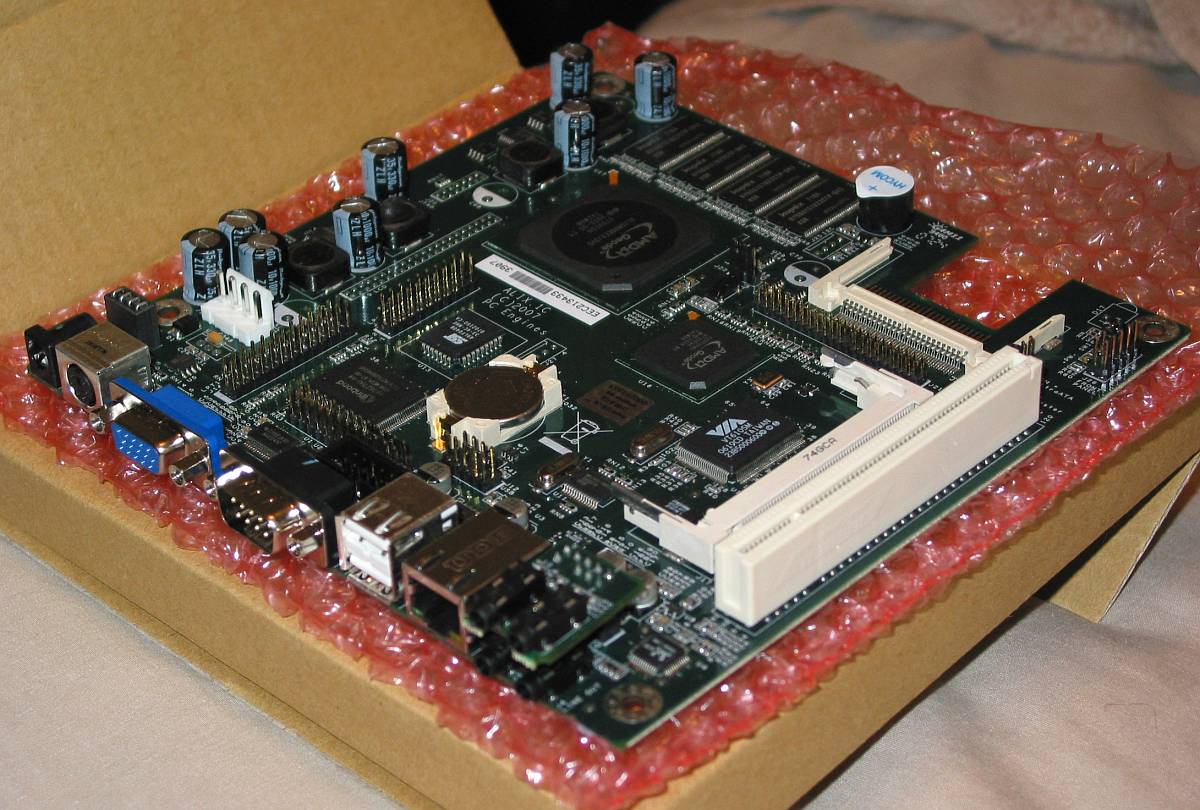
My Alix.1C mini-ITX board just arrived, hopefully to replace the server that’s sitting in the closet collecting dust, and making a lot of noise and heat due to having 5 hard drives (all of which could be replaced by a single drive for about $30).
This board is a 500 MHz AMD Geode with 256 MB RAM onboard; it uses about 5 watts and runs from 12VDC. It has a CompactFlash header onboard, so right now I am running Linux from a 128 MB card.

Edirol PCR-M50
My brother got me an Edirol PCR-M50 keyboard about 16 months ago. When I used it recently to mess around with Reaktor 5 I found that a number of the keys had stopped working. I figured this was probably because for the past several months I’d used the MIDI keyboard primarily for putting books on top of rather than any music-related purpose, due to being in a dorm room with nowhere else to put the books. But after some online searching, it looks like a number of people have had the same issue. and it’s due to some corrosion/oxidation/dirt on the contacts that the keys activate.
Some said they’d taken it apart and cleaned it to fix it. So I figured that would be easier to do than try to memorize which notes didn’t work. I took some pictures… mainly for my own reference in case I forgot how things were supposed to go back together… but I am putting them up here too:
Front cover off, after removing like 50 screws:
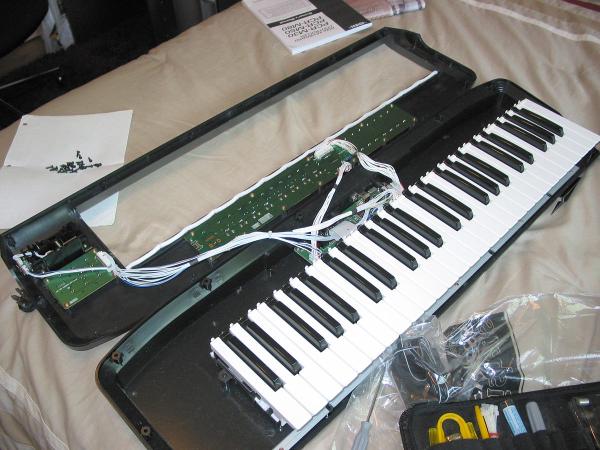
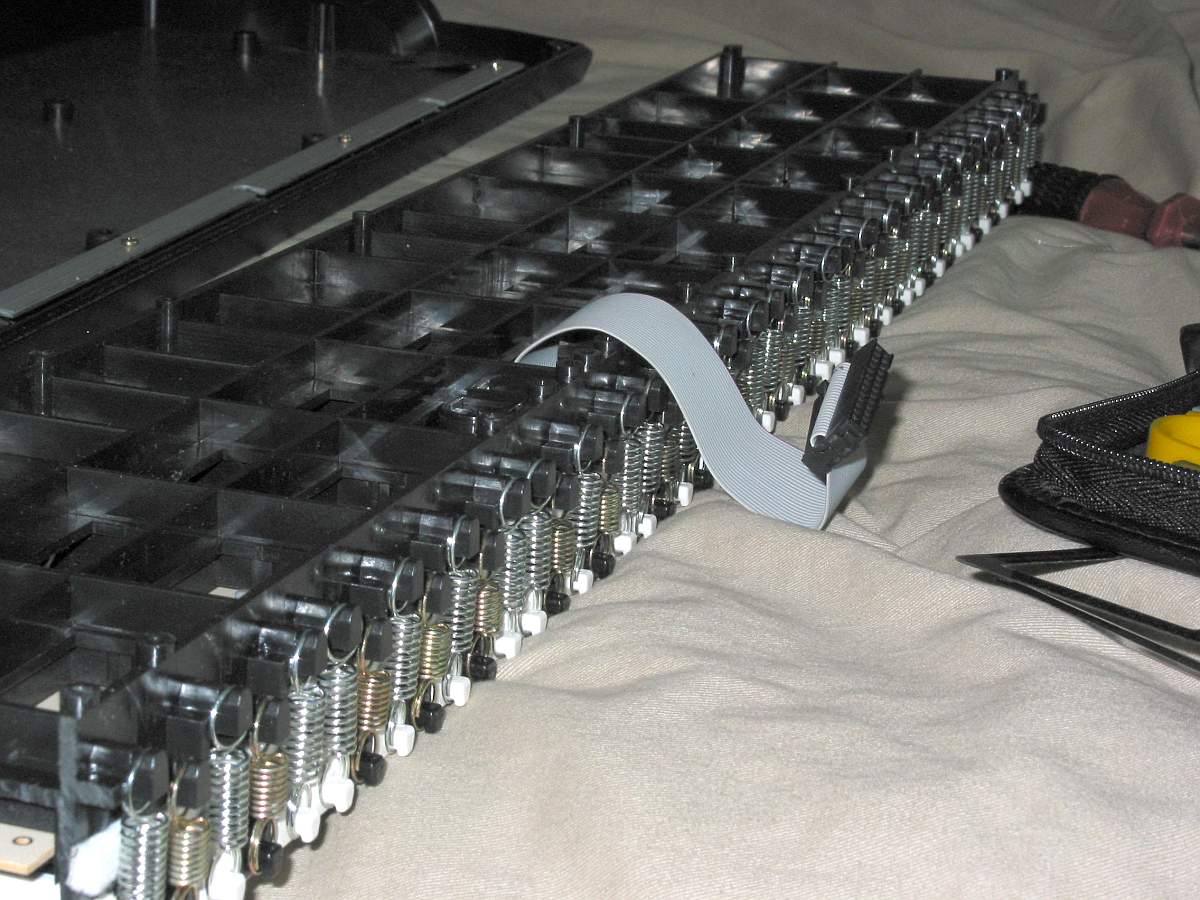
So I started the process of removing keys because I could not see any other way to access the contacts. They grey part on the left in the first picture looks like about the same mechanism as a keyboard or older joystick pad. There are two pads for each key rather than just one, and my guess is that the one nearest the fulcrum is hit slightly sooner than the further one, and the time elapsed between the two hits is used to guess the velocity with which they key was struck.
Other than that, just a pretty easy-to-understand design. Each key is held up by a tension spring on the opposite side, and keys slide in and out pretty easily once the springs are gone. The only annoying part was all the white grease everywhere that kept getting all over my hands.

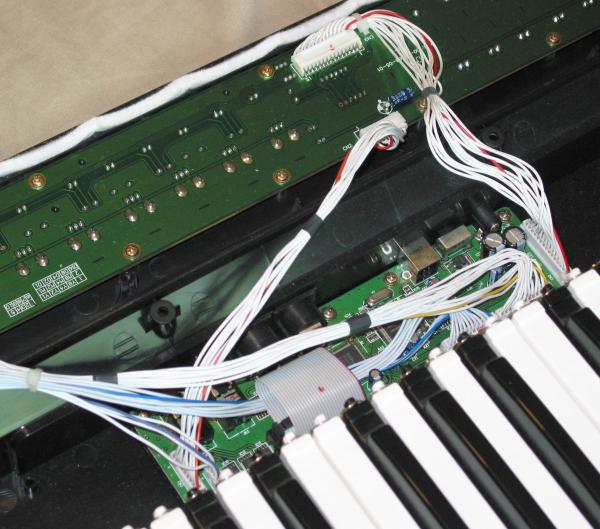
And it’s just connected electrically with a ribbon cable, normal 0.1" pitch, like an IDE header.

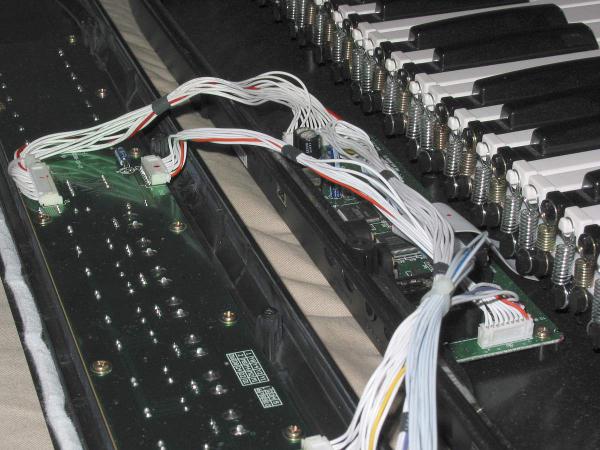
So I proceeded to remove the first dozen or so keys by pulling out the springs, then white keys and black keys.
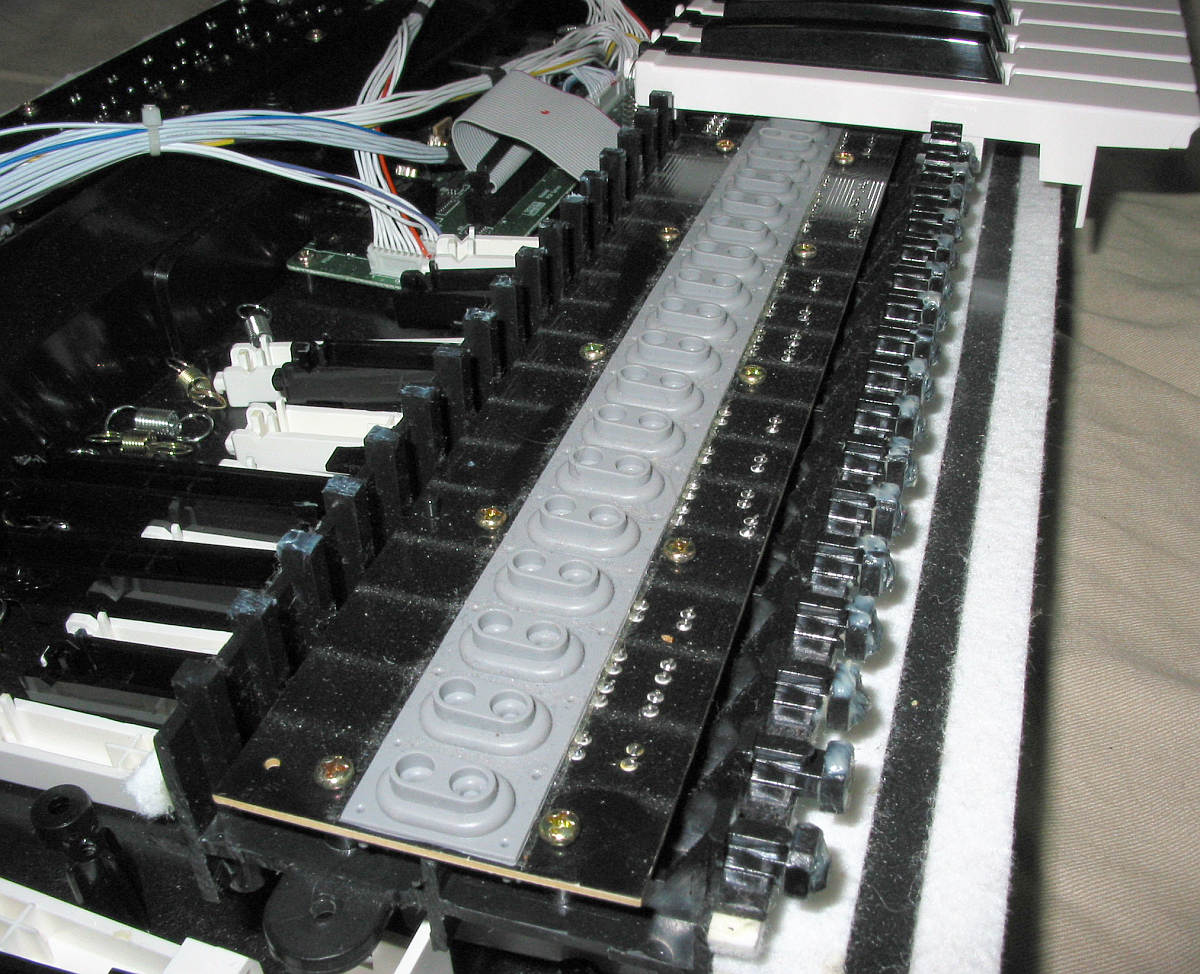
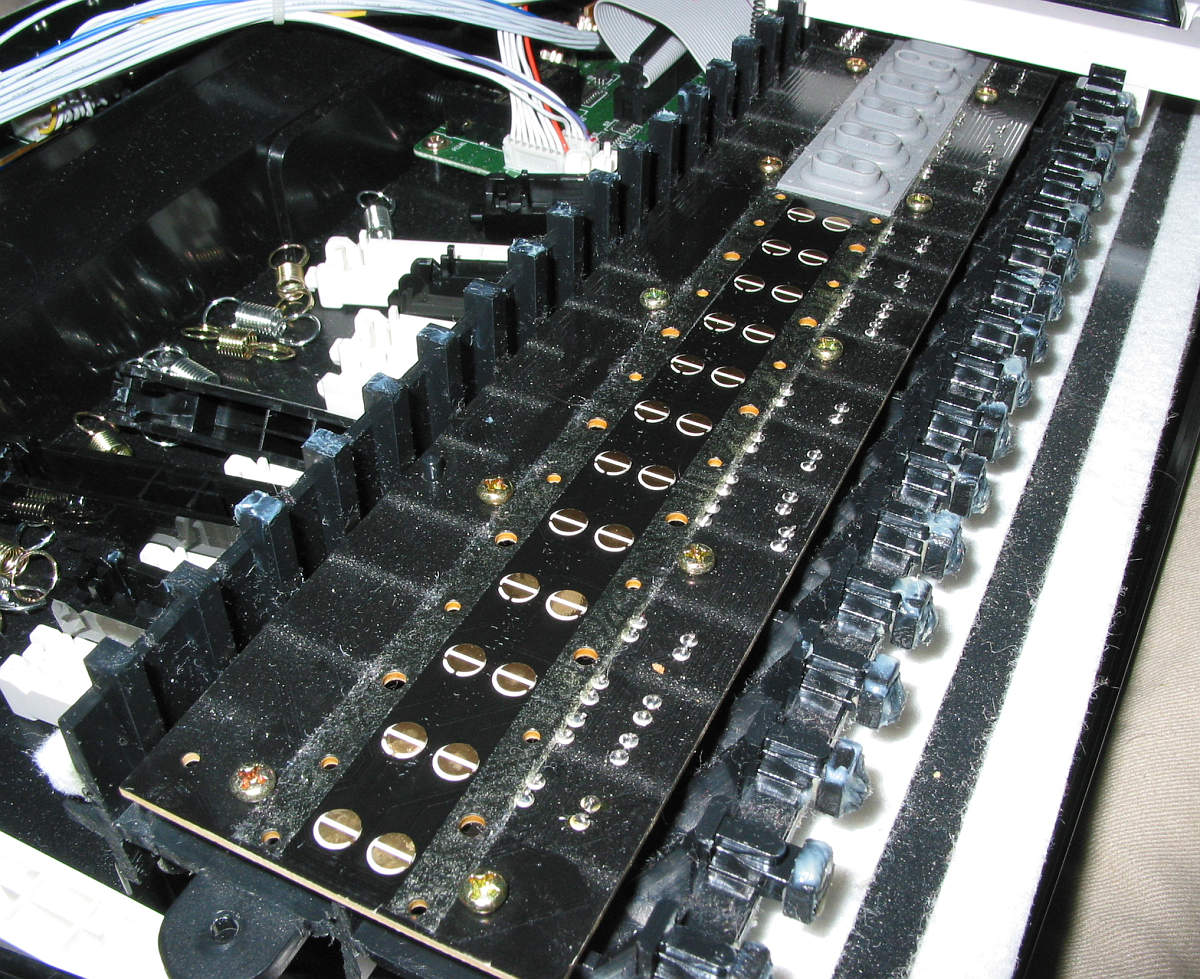
The PCB in the next pictures looks almost black, but it should be more of a dark green. The lines are dust that came between the keys. In any case, these show the rubber(ish) part on top that the keys strike, and the gold PCB contacts beneath them.


Conveniently, there are four rubber sections (one per octave). Each two gold pads correspond to a key, and the holes between each are where the rubber section is secured.
I removed the first section completely, but fully re-seating the rubber took awhile. What I eventually did was lift up just the portion enough to get to the PCB contacts underneath. As only a few keys were problematic, it was just a matter of pounding the keys or rubber to hear which ones didn’t respond right. Electronics are really supposed to be turned off when you service them, but it is much easier to audibly hear the response of a key/contact to determine how well it’s working, so I had it plugged in… oh well, the electronics are all low-voltage.
From there I just needed to clean off the contacts underneath the problematic keys with some rubbing alcohol on a q-tip. I didn’t exactly need to remove all 48 keys to do this, but I wanted to clean the keys off anyway.
Yay. Keyboard is working well again.